
Blog
Test Closure Report Explained and How to Write One

Published on
June 4, 2026


Test closure report records what was tested, what was found, what was fixed, and what risk remains when testing concludes for a given release.
Here is a situation most QA teams will recognise. The sprint ends. The release ships or holds. A few days later, someone opens a document template, fills in the test counts, attaches the defect log, and files the test closure report in a shared folder. Nobody reads it. The next sprint begins.
The report existed. It did not function.
A test closure report that functions is a different thing from a test closure report that exists. The difference is not length or detail or formatting. The difference is whether the report was built to inform a decision or built to satisfy a process. Most teams are building the second kind and calling it the first.
A test closure report is a document that records what was tested, what was found, what was fixed, and what risk remains when testing concludes for a given release. Its job is to give whoever is making the release decision a clear picture of the quality of the software going out the door.
That is the job. Not documentation for its own sake. Not a record for a future audit. Not a summary of how hard the team worked. The job is to support a release decision with evidence.
You will hear test closure report, test summary report, and test completion report used interchangeably. They overlap but are not identical.
A test summary covers what was tested. A test completion report covers what was achieved. A test closure report covers both of those plus the residual risk picture and the recommendation for the release decision. Of the three, test closure report is the most complete and the most useful framing.
The right approach to test closure depends on how the team delivers software, not on what a process standard says.
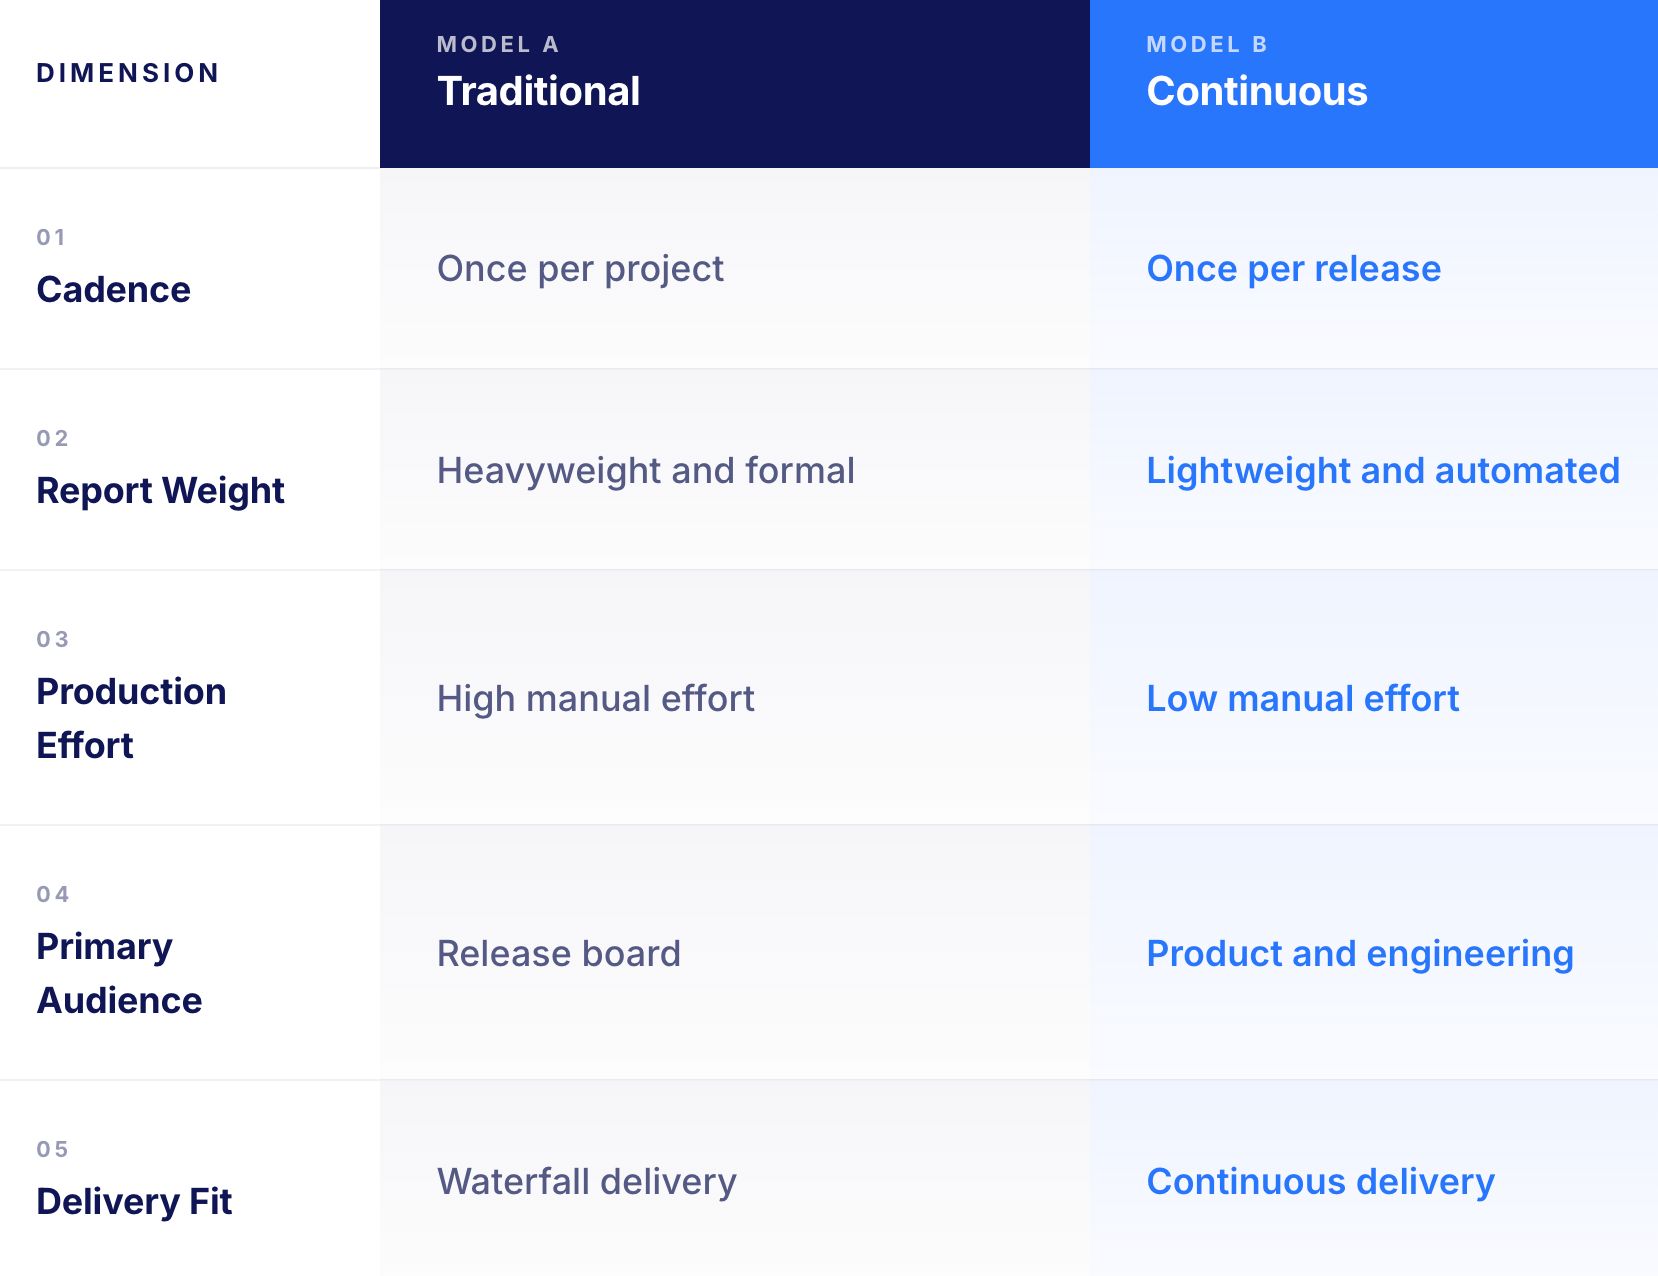
Treats closure as a once-per-project event at the end of a testing phase. The report is thorough, formal, and produced for a release board that meets on a defined cadence. It is designed to survive an audit and to serve as a permanent record of the project's testing activity. This model fits teams that operate with a distinct testing phase that has a clear start and end.
Treats closure as a once-per-release event in a delivery pipeline that runs weekly or daily. The report is lightweight and produced quickly, largely from data the test platform already holds.
It is tailored for a release conversation between product, engineering, and business stakeholders who meet on a sprint cadence. This model fits teams running continuous delivery where the release decision happens frequently and the team cannot afford to spend days producing a report.
Teams that run continuous delivery while writing waterfall-era closure reports produce reports nobody reads. The cadence and the format have to match the way the team actually works.
A closure report that drives decisions has fewer sections than the standard template, and those sections carry more weight. Here is what belongs and why.
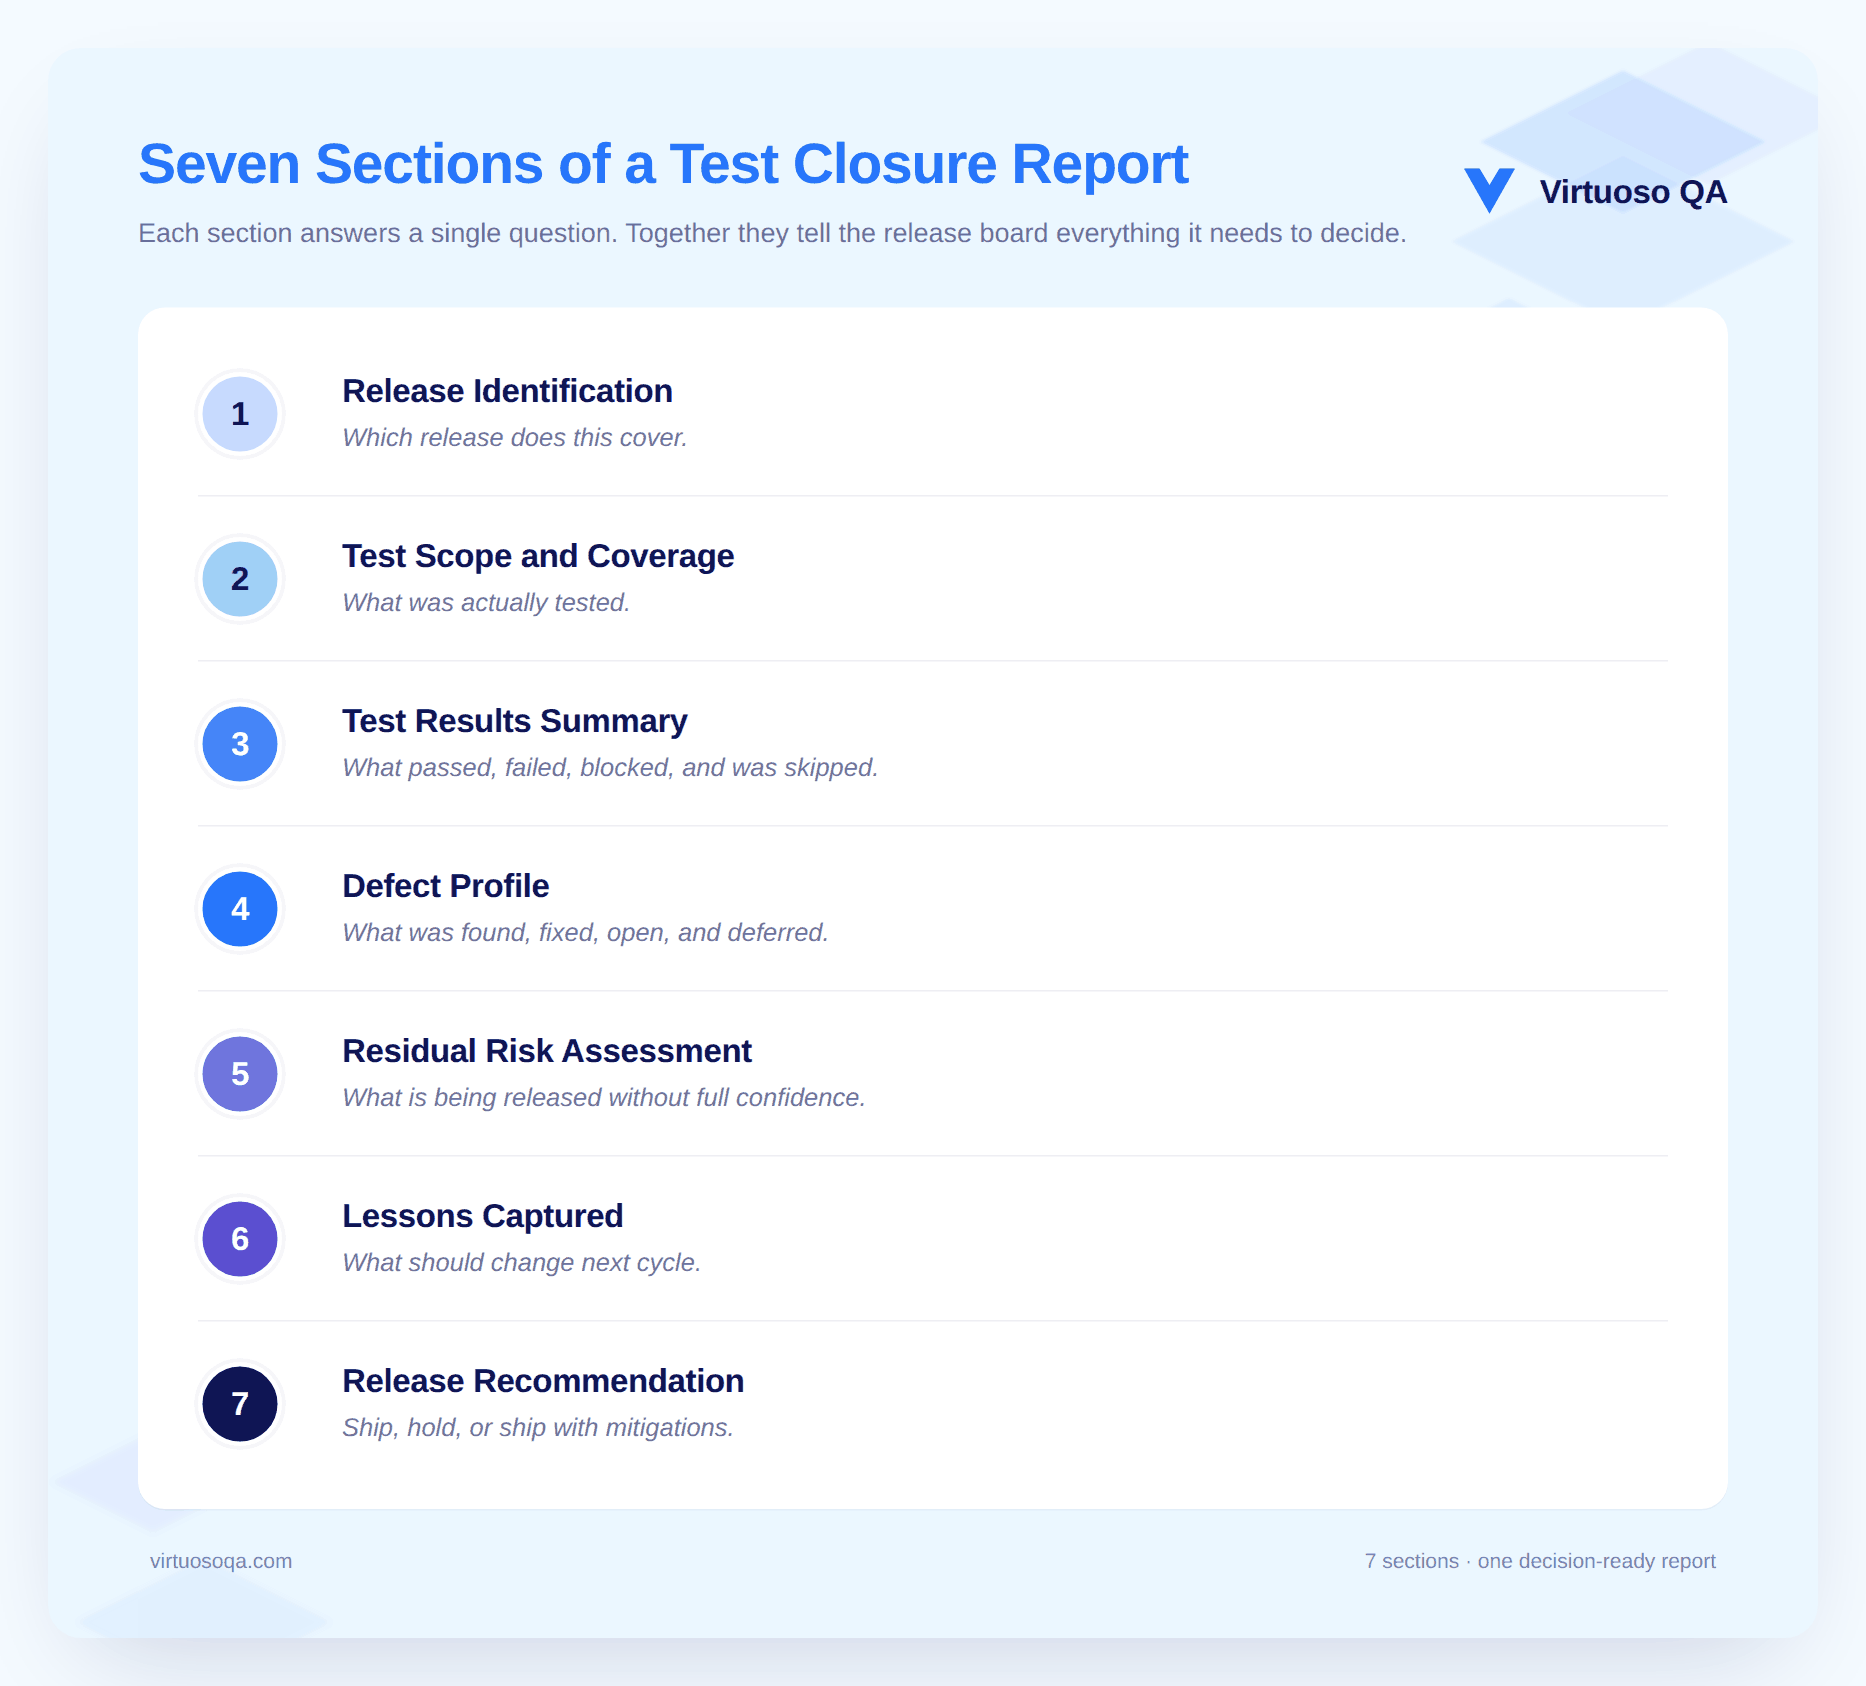
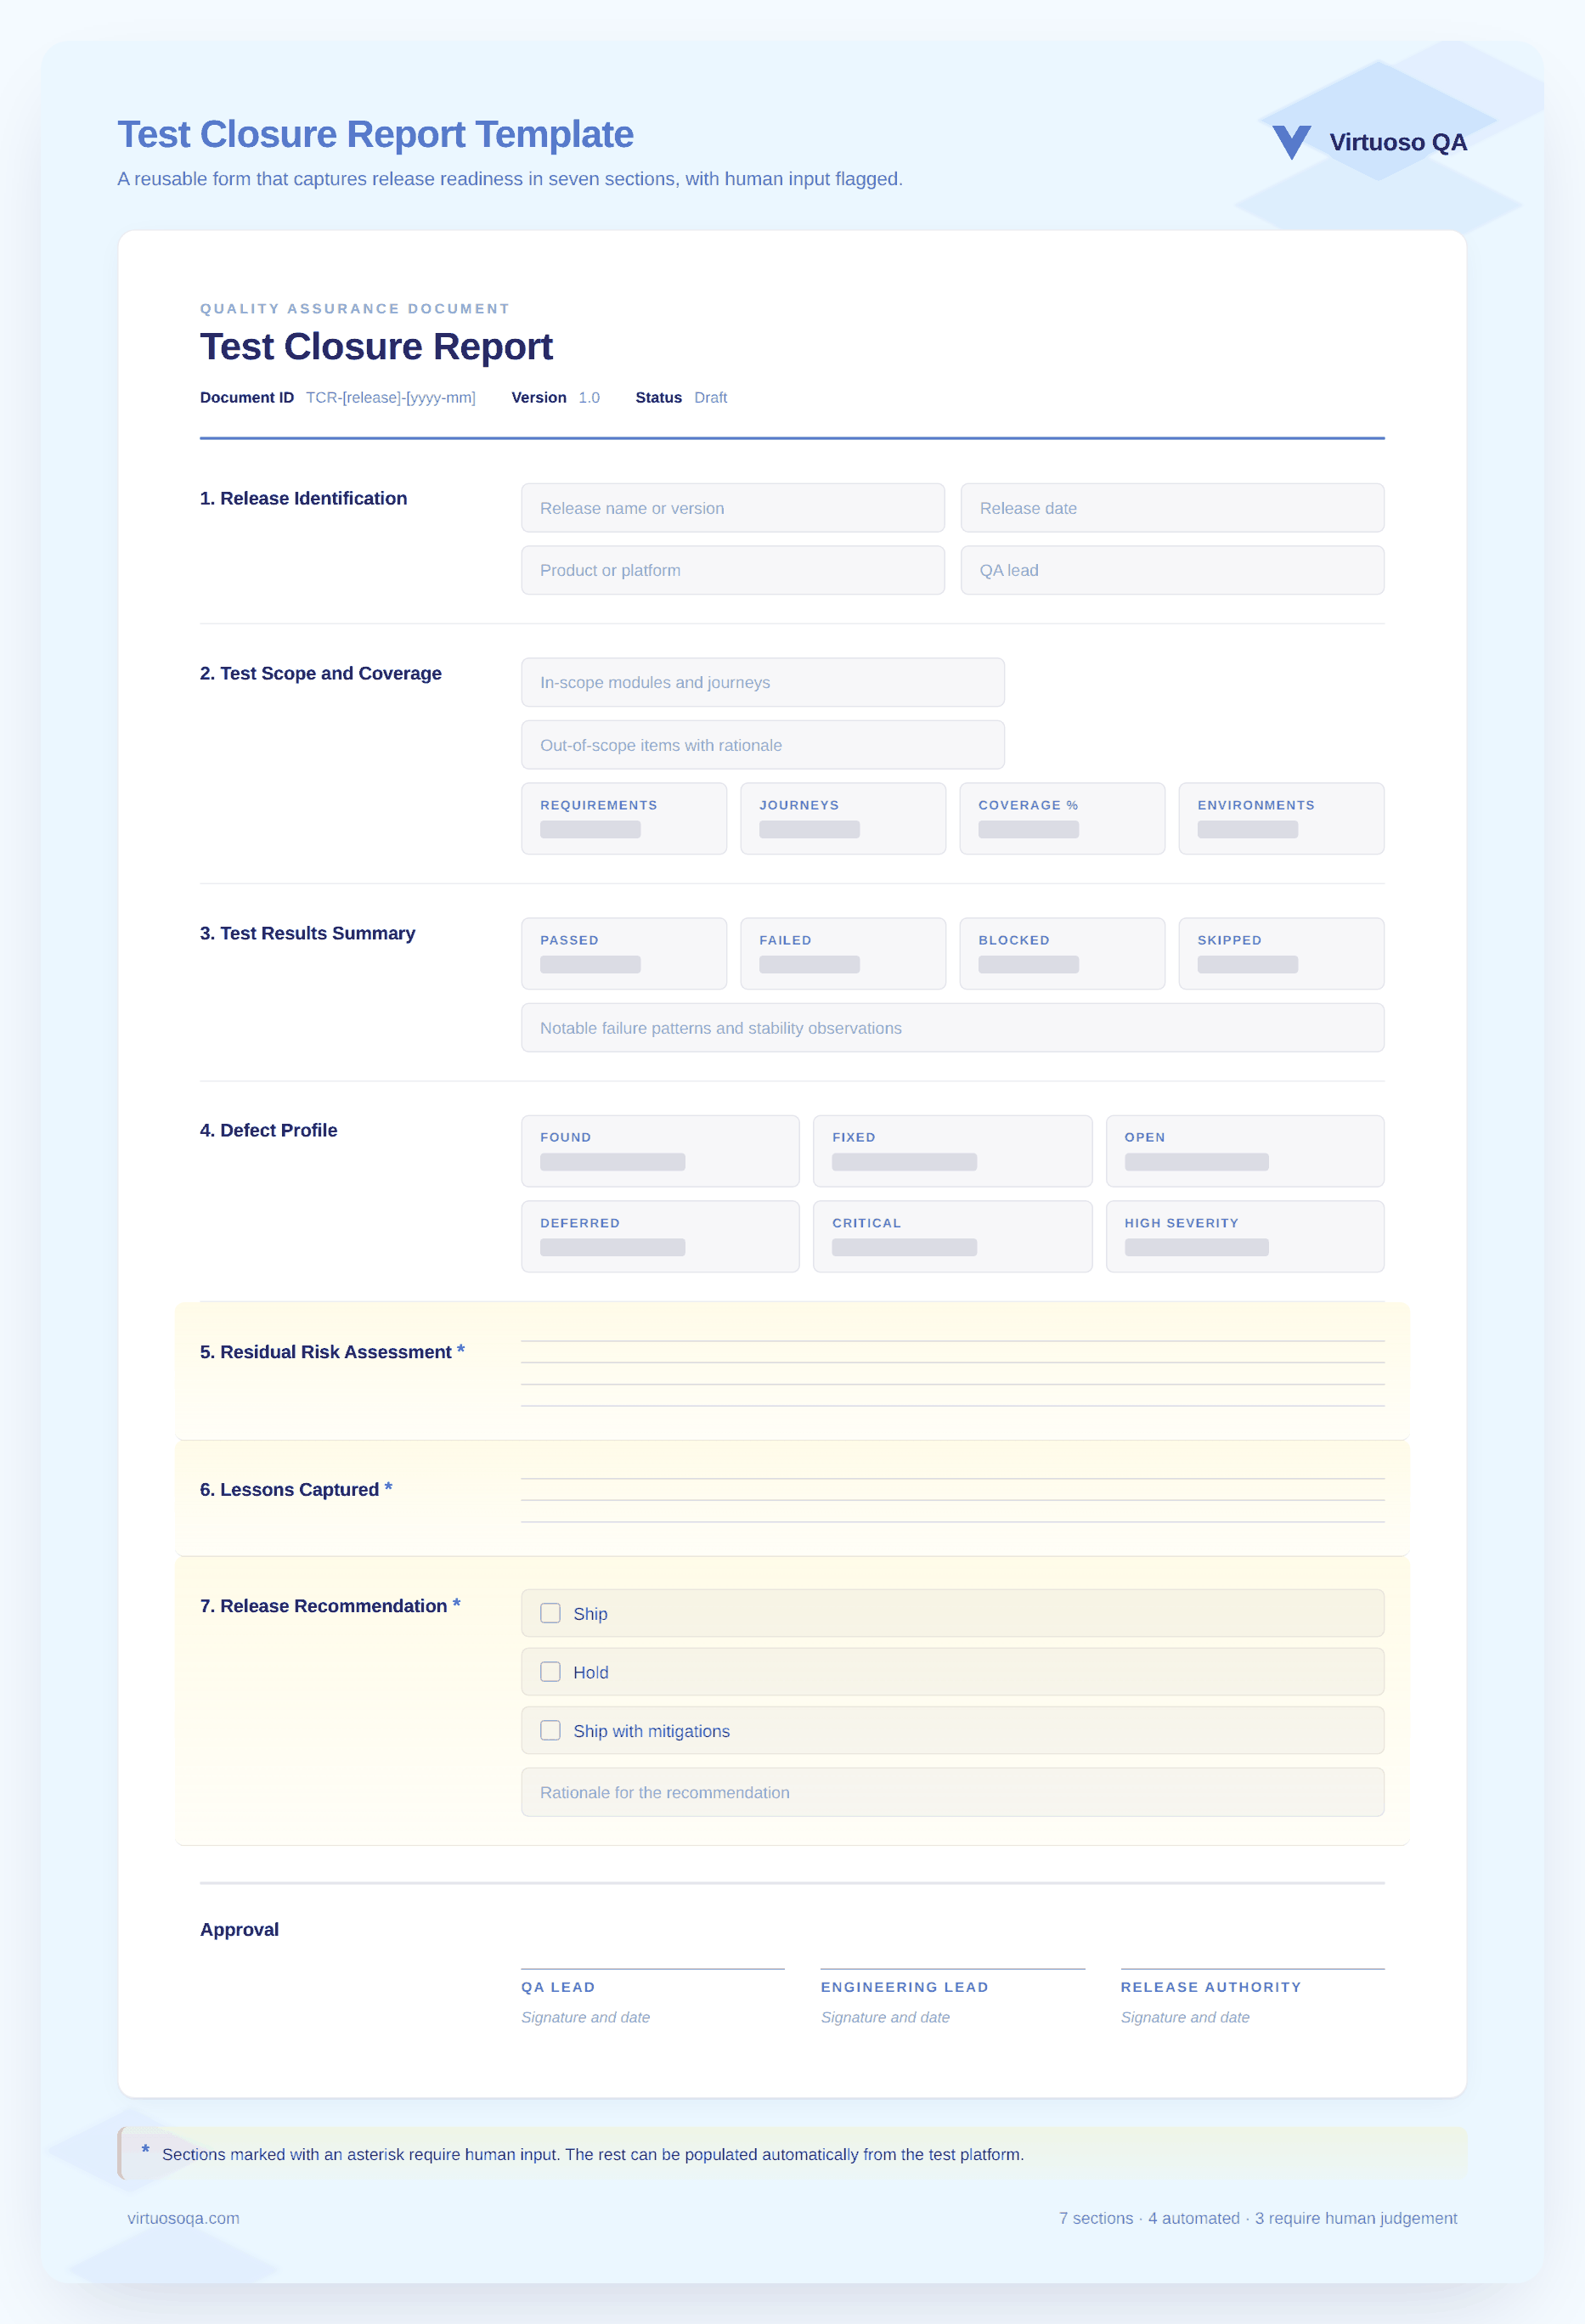
The first section of the report identifies the release being closed with enough specificity that there is no ambiguity about what was tested. This means the version number, the build identifier the testing was conducted against, the release date, and a short scope summary covering what the release contained.
The section is intentionally short because its only function is unambiguous identification rather than substantive analysis.
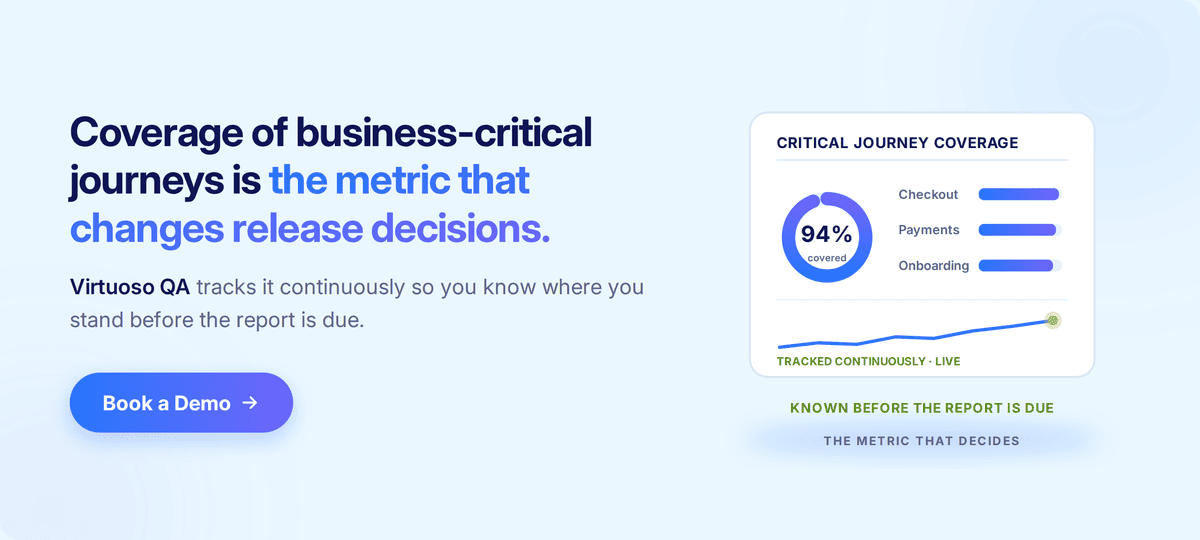
The scope and coverage section answers the question that matters most before a release decision: what did the team actually test, and how much of what mattered was covered? The most useful framing is coverage by requirement criticality rather than by raw test case count, which means reporting what percentage of business-critical requirements were verified, what percentage of high-priority customer journeys were tested end to end, and where the gaps remain at each criticality level.
A raw test case count is not coverage. One hundred test cases covering peripheral UI edge cases and zero tests on the payment flow is not coverage of anything that matters.
Coverage must be reported in relation to what was in scope and weighted by how important each requirement actually is to the customer and the business.
The results summary presents what passed, what failed, what was blocked, and what was not executed during the testing cycle, with each category given enough context to be useful rather than just counted.
Failed tests should be listed alongside their associated defects and the current status of each. Blocked tests should identify the specific blocker that prevented execution. Tests that were not run at all need a clear reason for the omission and an honest statement of what that gap means for the release.
The pass rate on its own is close to useless without this context. A 97 percent pass rate where the three percent failures sit on the most critical user journey is a fundamentally different situation from a 97 percent pass rate where the failures sit on a rarely used configuration screen, and the summary needs to make that distinction visible to anyone reading it.
The defect profile section covers how many defects were found during the testing cycle, how many were fixed before closure, how many remain open, and how many have been formally deferred to a later release. This includes a severity distribution, the status of each defect at the time of the report, and a view of how the defect count changed during the testing period rather than just a snapshot of where it stands now.
Deferred defects deserve particular attention within this section. Each deferred item should carry a stated reason for the deferral and an honest statement of the risk the team is accepting by choosing to defer rather than resolve before release.
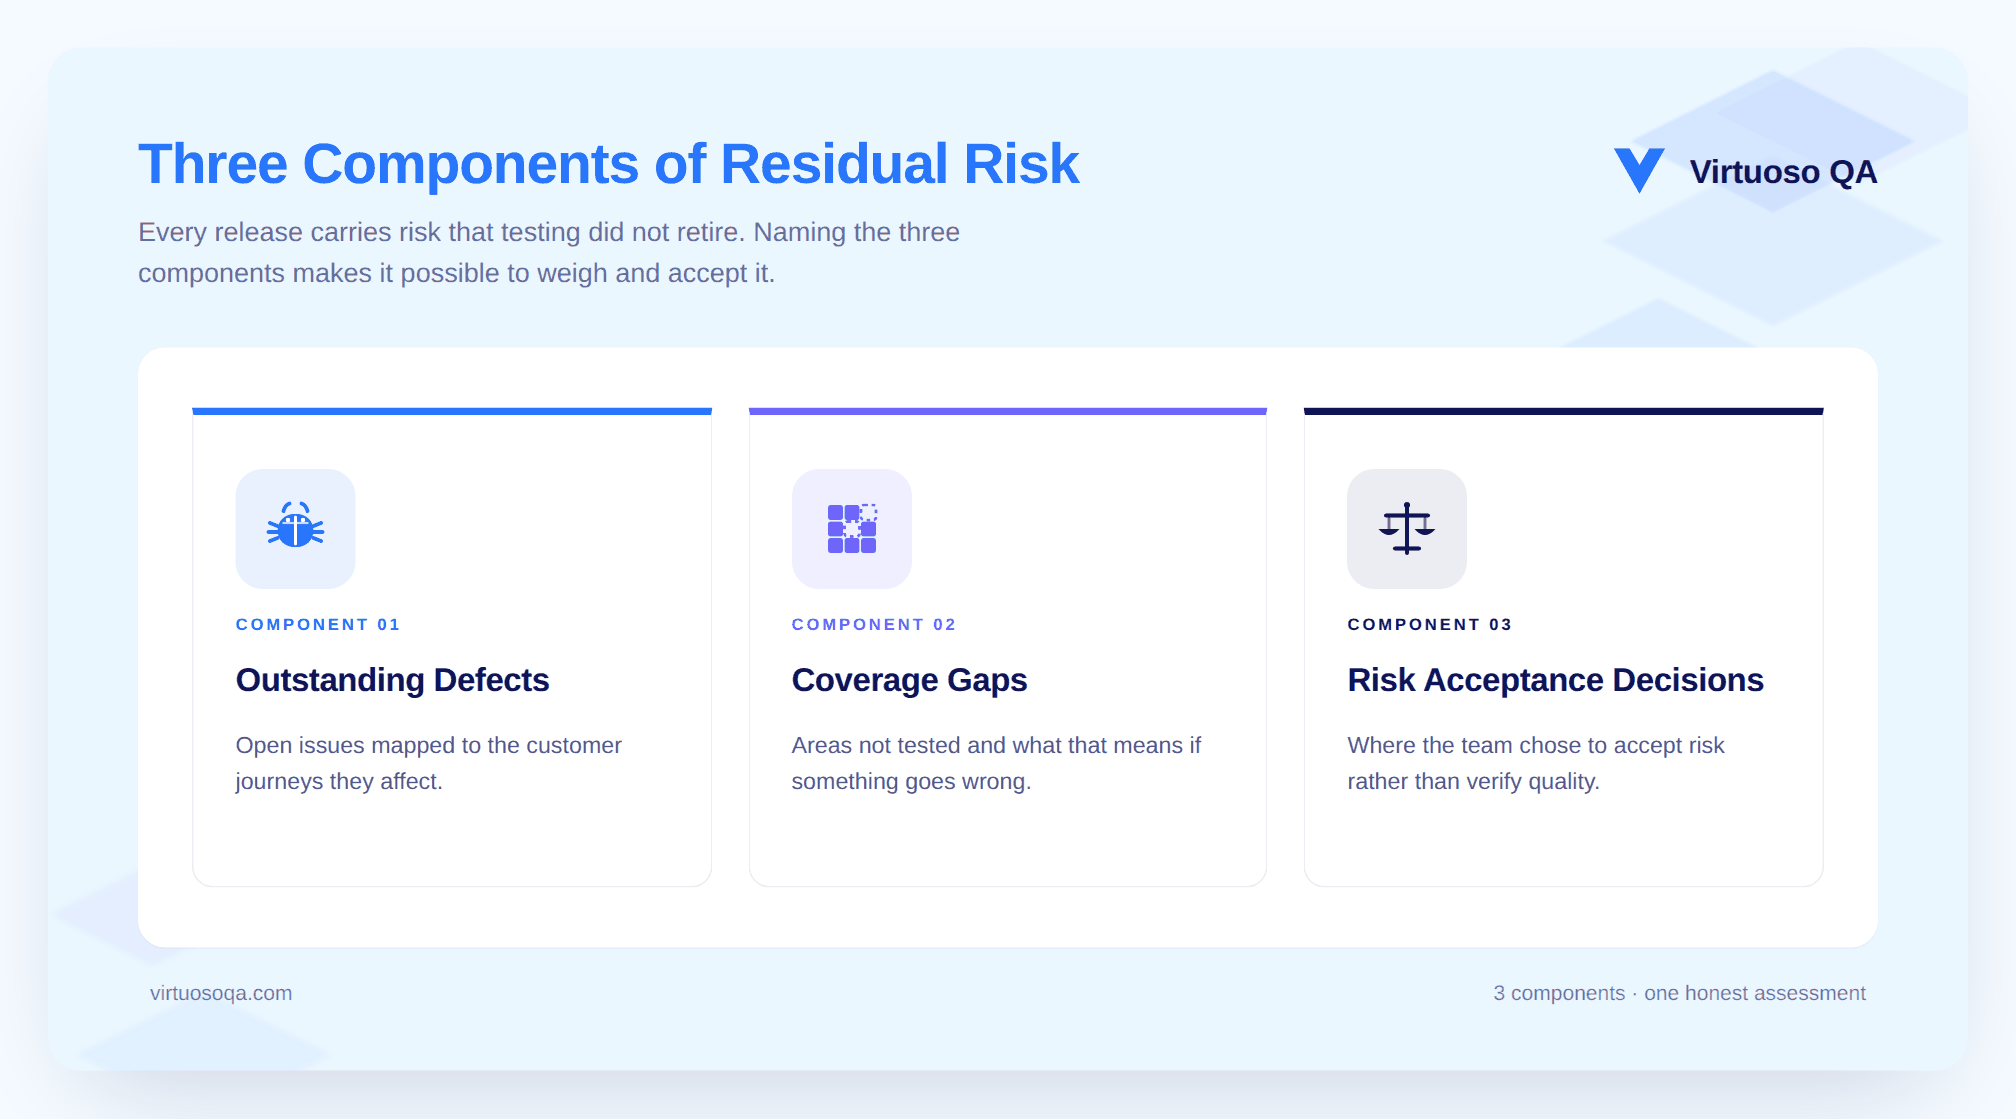
This is the section most closure reports do not include and the section that release stakeholders need most. Residual risk is what the team is releasing without complete confidence in, and it covers outstanding defects mapped to the customer journeys they affect, known coverage gaps and what they mean for the customer if something goes wrong in those areas, and any place where the team made a deliberate risk acceptance decision rather than a quality confirmation.
A closure report that does not name residual risk explicitly is asking the release stakeholder to infer it from the rest of the document, and that inference is often wrong. The release stakeholder may assume that the absence of a stated risk means the absence of actual risk, and it does not.
It means the risk was present but not stated, which is a meaningfully worse situation than a risk that is named and understood.
The lessons section captures what the team learned during the testing cycle that should change how testing works in the next one. This is not a celebration of effort or a list of accomplishments. It is a forward-looking record of things that went wrong, things that went unexpectedly right, test cases that proved unreliable in practice, coverage areas that came up thinner than intended, and tooling or process gaps that surfaced during execution.
Teams that skip this section miss the only structural opportunity in the closure rhythm to convert experience into improvement, and the cost of skipping it compounds over time as the same issues recur in subsequent cycles without a shared record of what caused them.
The report's final section should state the team's recommendation clearly and without equivocation: release, release with named mitigations in place, or hold for named reasons. The reasoning behind the recommendation should connect directly to the residual risk assessment and the defect profile rather than restating the results summary in different words.
A closure report that buries the recommendation on the final page or omits it entirely has failed at its most fundamental function. The recommendation does not bind the release authority, and the decision ultimately rests with whoever holds that responsibility. But the report should give that person a clear, reasoned position from the team closest to the testing outcome, not leave them to construct one from the data themselves.
Most closure report templates carry metrics that look rigorous and say nothing useful. Getting to a sharper report means being willing to drop the familiar numbers and replace them with ones that actually connect to customer outcomes.
Keep these:
Drop these:
The resistance to dropping familiar metrics is real. Teams that have reported effort hours for years feel exposed when that number disappears. The discomfort is worth tolerating, because a shorter list of better-chosen metrics produces a more useful report than a long list of available ones that carry no predictive value for the release decision.
Modern test management platforms produce most of a closure report from execution data, defect tracking integrations, and traceability links. Coverage percentages, pass and fail breakdowns, defect distribution by severity, and trend lines across the testing period do not need to be assembled manually by the team.
That work should already be done by the platform, and any team spending significant time pulling this data together by hand is paying a production cost that should not exist.
This is the section no platform can generate on behalf of the team. A senior practitioner needs to review the open defects, the blocked tests, the deferred items, and the known coverage gaps, and write a plain-language statement of what the team is releasing without full confidence in, along with an honest assessment of the customer impact if something goes wrong in those areas.
This is the section that requires human judgement rather than data aggregation, and it is where the production time should be concentrated.
The release authority needs the executive summary covering scope, coverage, residual risk, and recommendation in two pages at most. Engineering needs the diagnostic view covering defects by component, coverage gaps by area, flakiness signals, and process observations.
Business stakeholders need the risk view covering which customer journeys are affected by outstanding issues, what has been mitigated, and what remains open.
Each of these views is a filter on the same underlying data rather than a separate document, and producing them from a single source rather than writing three separate reports keeps the effort proportionate to the cadence.
When the release authority makes the call, that decision should go into the record alongside the report that informed it. The closure report stops being a static document at that point and becomes part of the release history, retrievable for future retrospective review and for the next-cycle team to understand what was accepted at the previous release boundary.
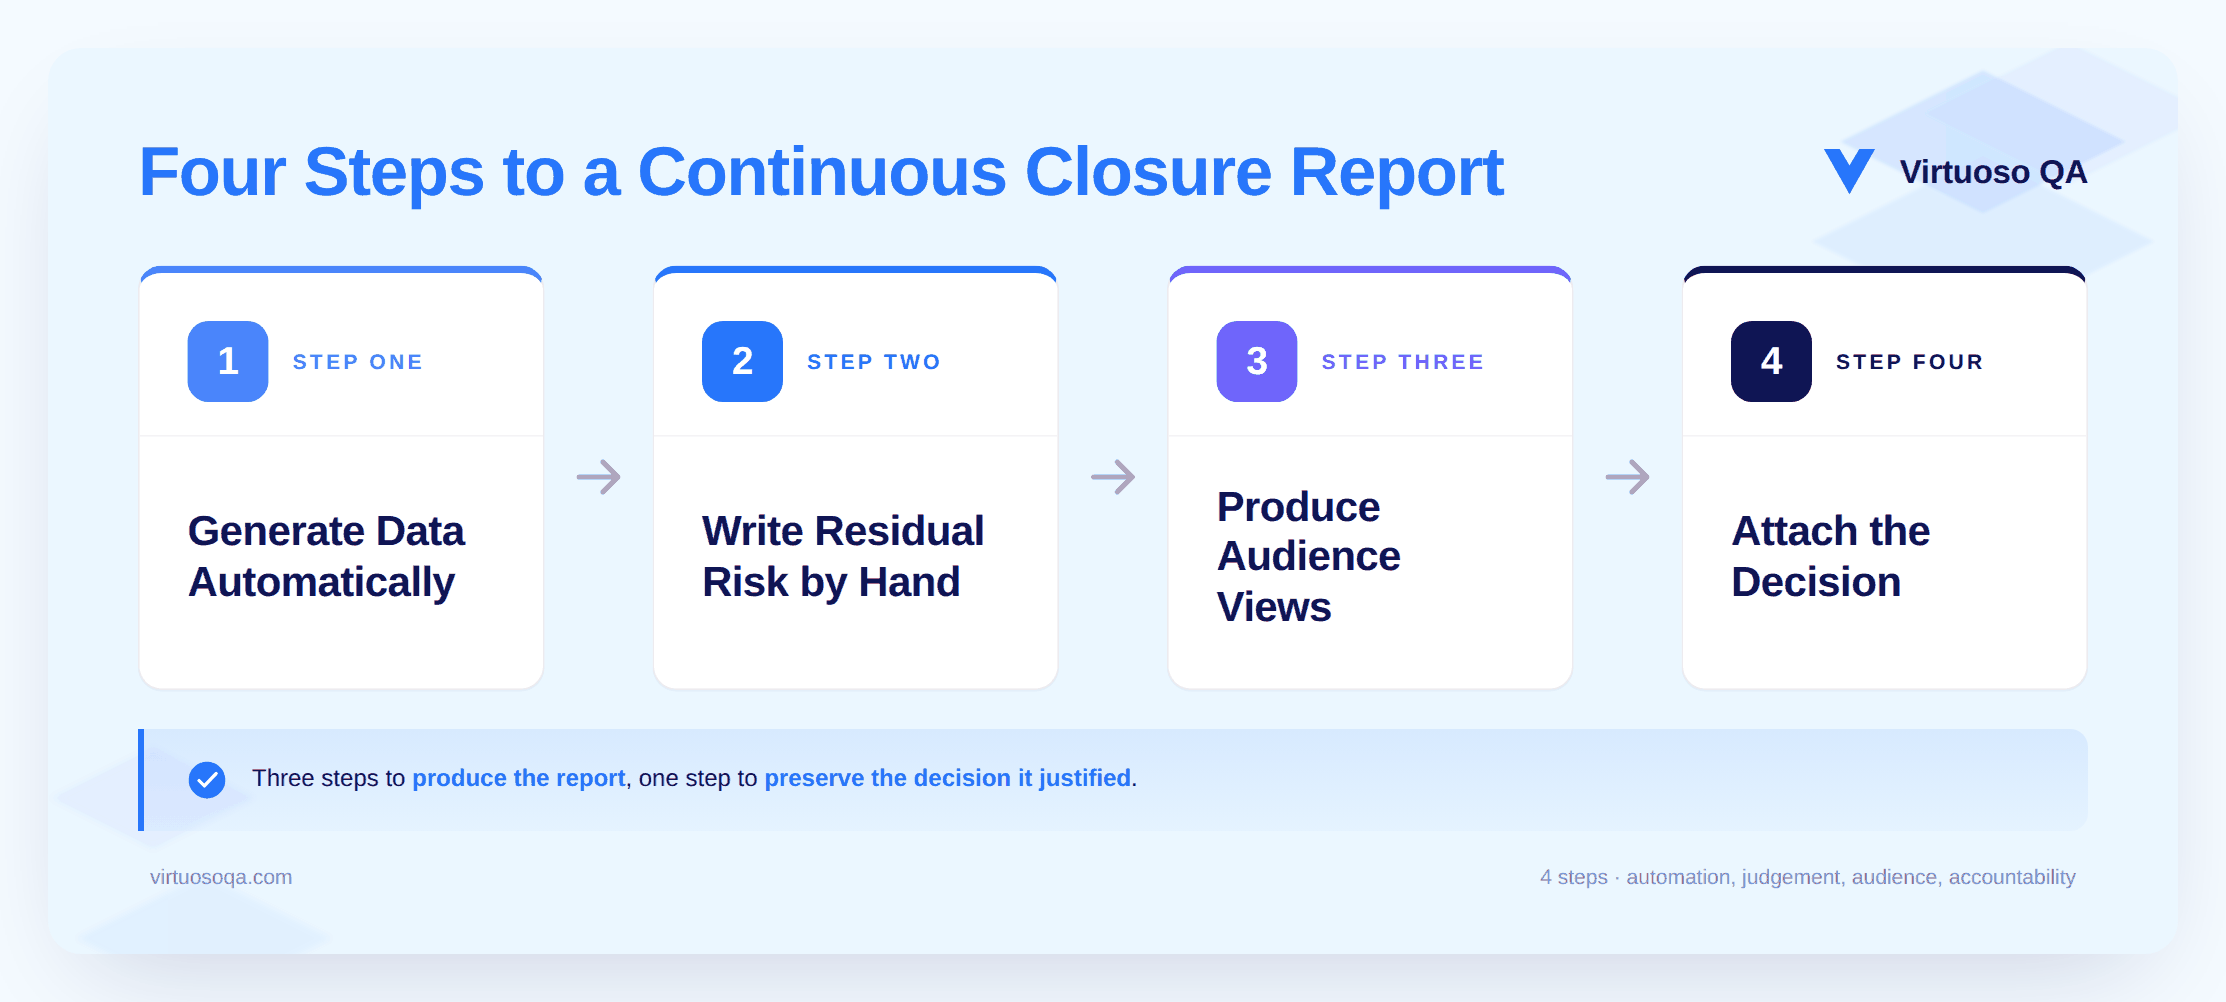
The production process is short by design. A closure report that takes a week to assemble is too expensive to produce at release cadence, and the effort has to fit the delivery rhythm the business actually operates at.
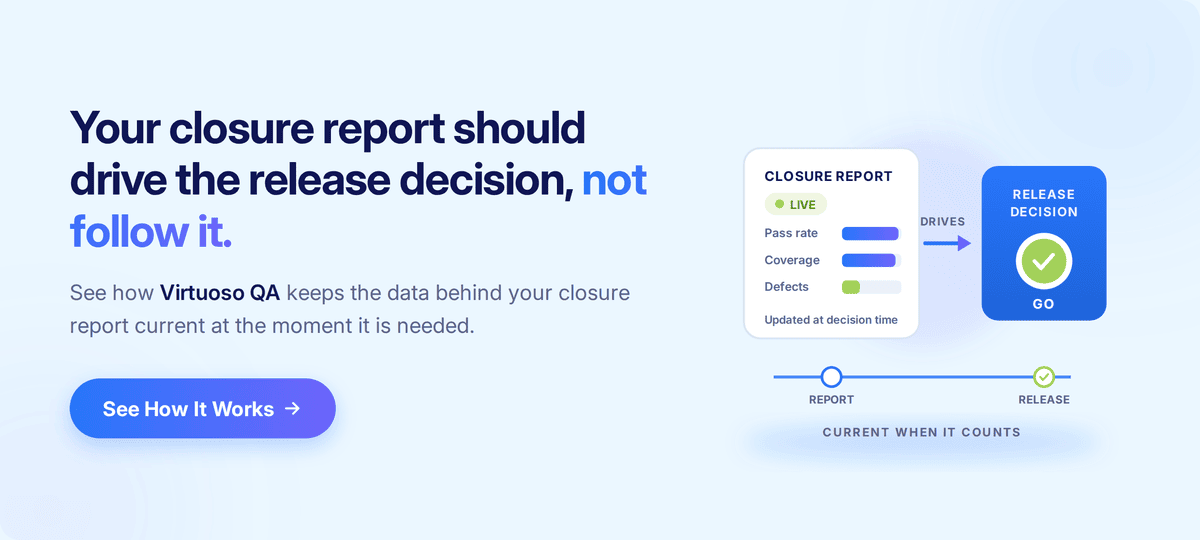
The fastest way to produce a closure report at release cadence is to have the underlying data already current when the report is needed, rather than assembling it from scattered sources at the end of each cycle.
Virtuoso QA maintains the data a closure report depends on continuously throughout the testing programme. Coverage against requirements and use cases, defect linkages, execution history, flakiness signals, and quality trends across releases are held in the platform rather than reconstructed manually when the release conversation begins. When the team needs to produce the report, the data is already there and current rather than several hours away from being ready.
AI Root Cause Analysis maps failures to the specific requirements and customer journeys they affect, which provides the evidence base for the residual risk assessment that most teams spend the most time writing by hand.
Natural Language test authoring keeps test cases readable to the product managers, business analysts, and stakeholders who participate in the release decision rather than only to the engineers who wrote them, which means the traceability between what was specified and what was tested is visible to the full release audience.
CI/CD integrations with Jenkins, GitHub Actions, Azure DevOps, and GitLab connect the test layer to issue tracking and requirements systems so the traceability the closure report depends on is maintained as a by-product of normal testing activity rather than reconstructed at the end of the cycle.
The closure report becomes a view onto a continuously maintained record rather than a document assembled once per release from wherever the data happens to live.
The structure below works for teams running continuous delivery at sprint cadence. Teams on longer release cycles can expand each section. The sections marked with an asterisk require human judgement and cannot be generated automatically from platform data.

Try Virtuoso QA in Action
See how Virtuoso QA transforms plain English into fully executable tests within seconds.